How To Easily Upgrade Your MacBook Storage
Hey chaps. When you purchased your MacBook it was tempting to go for the cheapest option with less storage. Some years later you’re regretting the decision huh? Don’t worry, there’s an easy way to upgrade your storage and doesn’t take long time to do it. I need to share my experience with you!
By default the majority of MacBooks from 2013 to 2017 came with 128 GB and 256 GB of Solid State Drive (SSD) of storage. Some had the option to upgrade online to 512 GB for $300 approximately back in the days and this is what I did when I purchased my MacBook Air Mid-2013. It was really good for 5 years but then I realised I had so many photos, videos and documents (besides all my external backups) that it became frustrating to use my MacBook Air. I was considering getting a new MacBook, perhaps another Air or a Pro. But wait, just for storage purposes? It didn’t make much sense to spend over $2,000 for the equivalent model with 1 TB SSD storage. Guys, Apple Hardware is designed to last, truly. Hence, I spent few hours reading and found out that the SSD is a removable module and it was possible to upgrade myself (even though Apple doesn’t like it).
Before continuing, I need a little disclaimer: I’m not being sponsored by anyone and everything you’ll see below it’s my personal opinion without any commercial purpose.
Alright, here’s how to do it. There’s 5 steps:
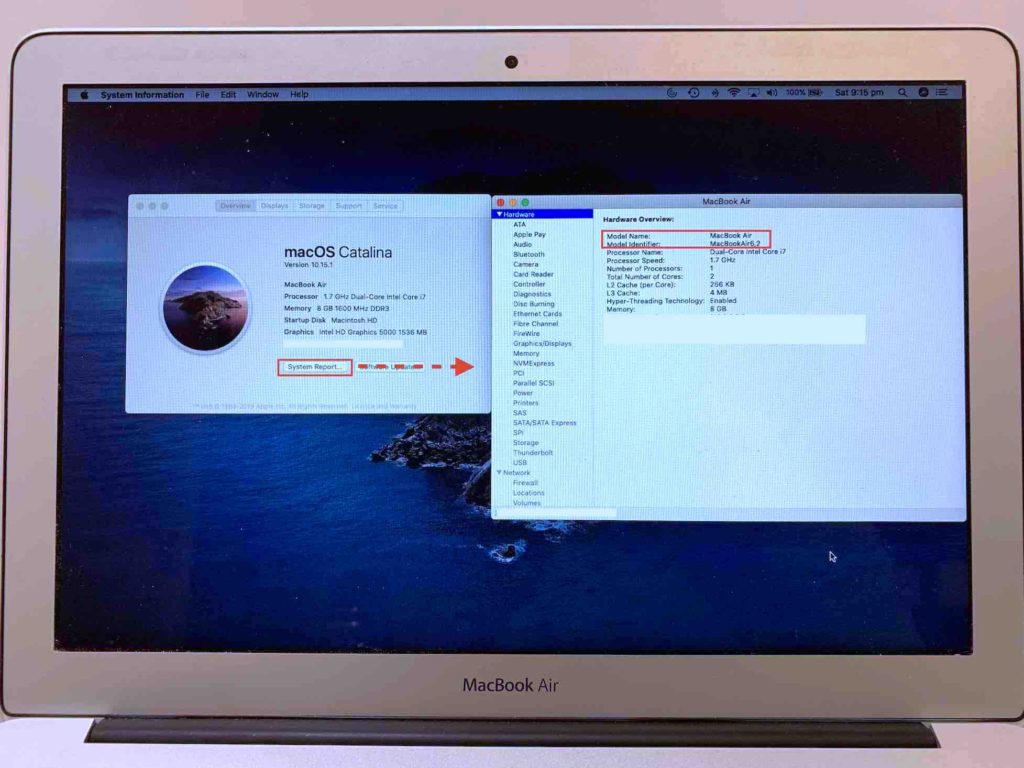
1) Check your MacBook model. How? Go to the Apple Menu > About This Mac > System Report > Model Name & Model Identifier.
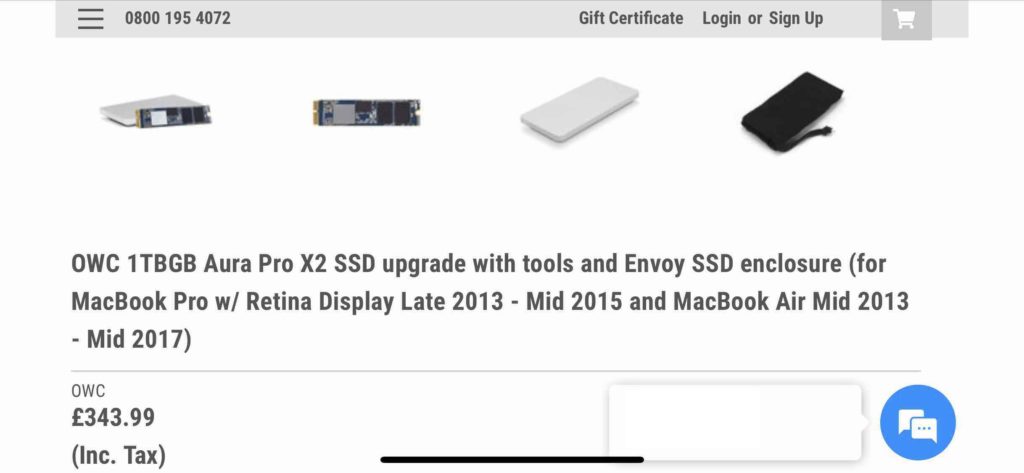
2) Buy your new SSD. If you’re in the UK & Ireland go to Flexx and place an order making sure it’s compatible for your MacBook model. In my case I went for OWC Aura Pro X2 1 TB with tools. If you’re in the US you can try Other World Computing.
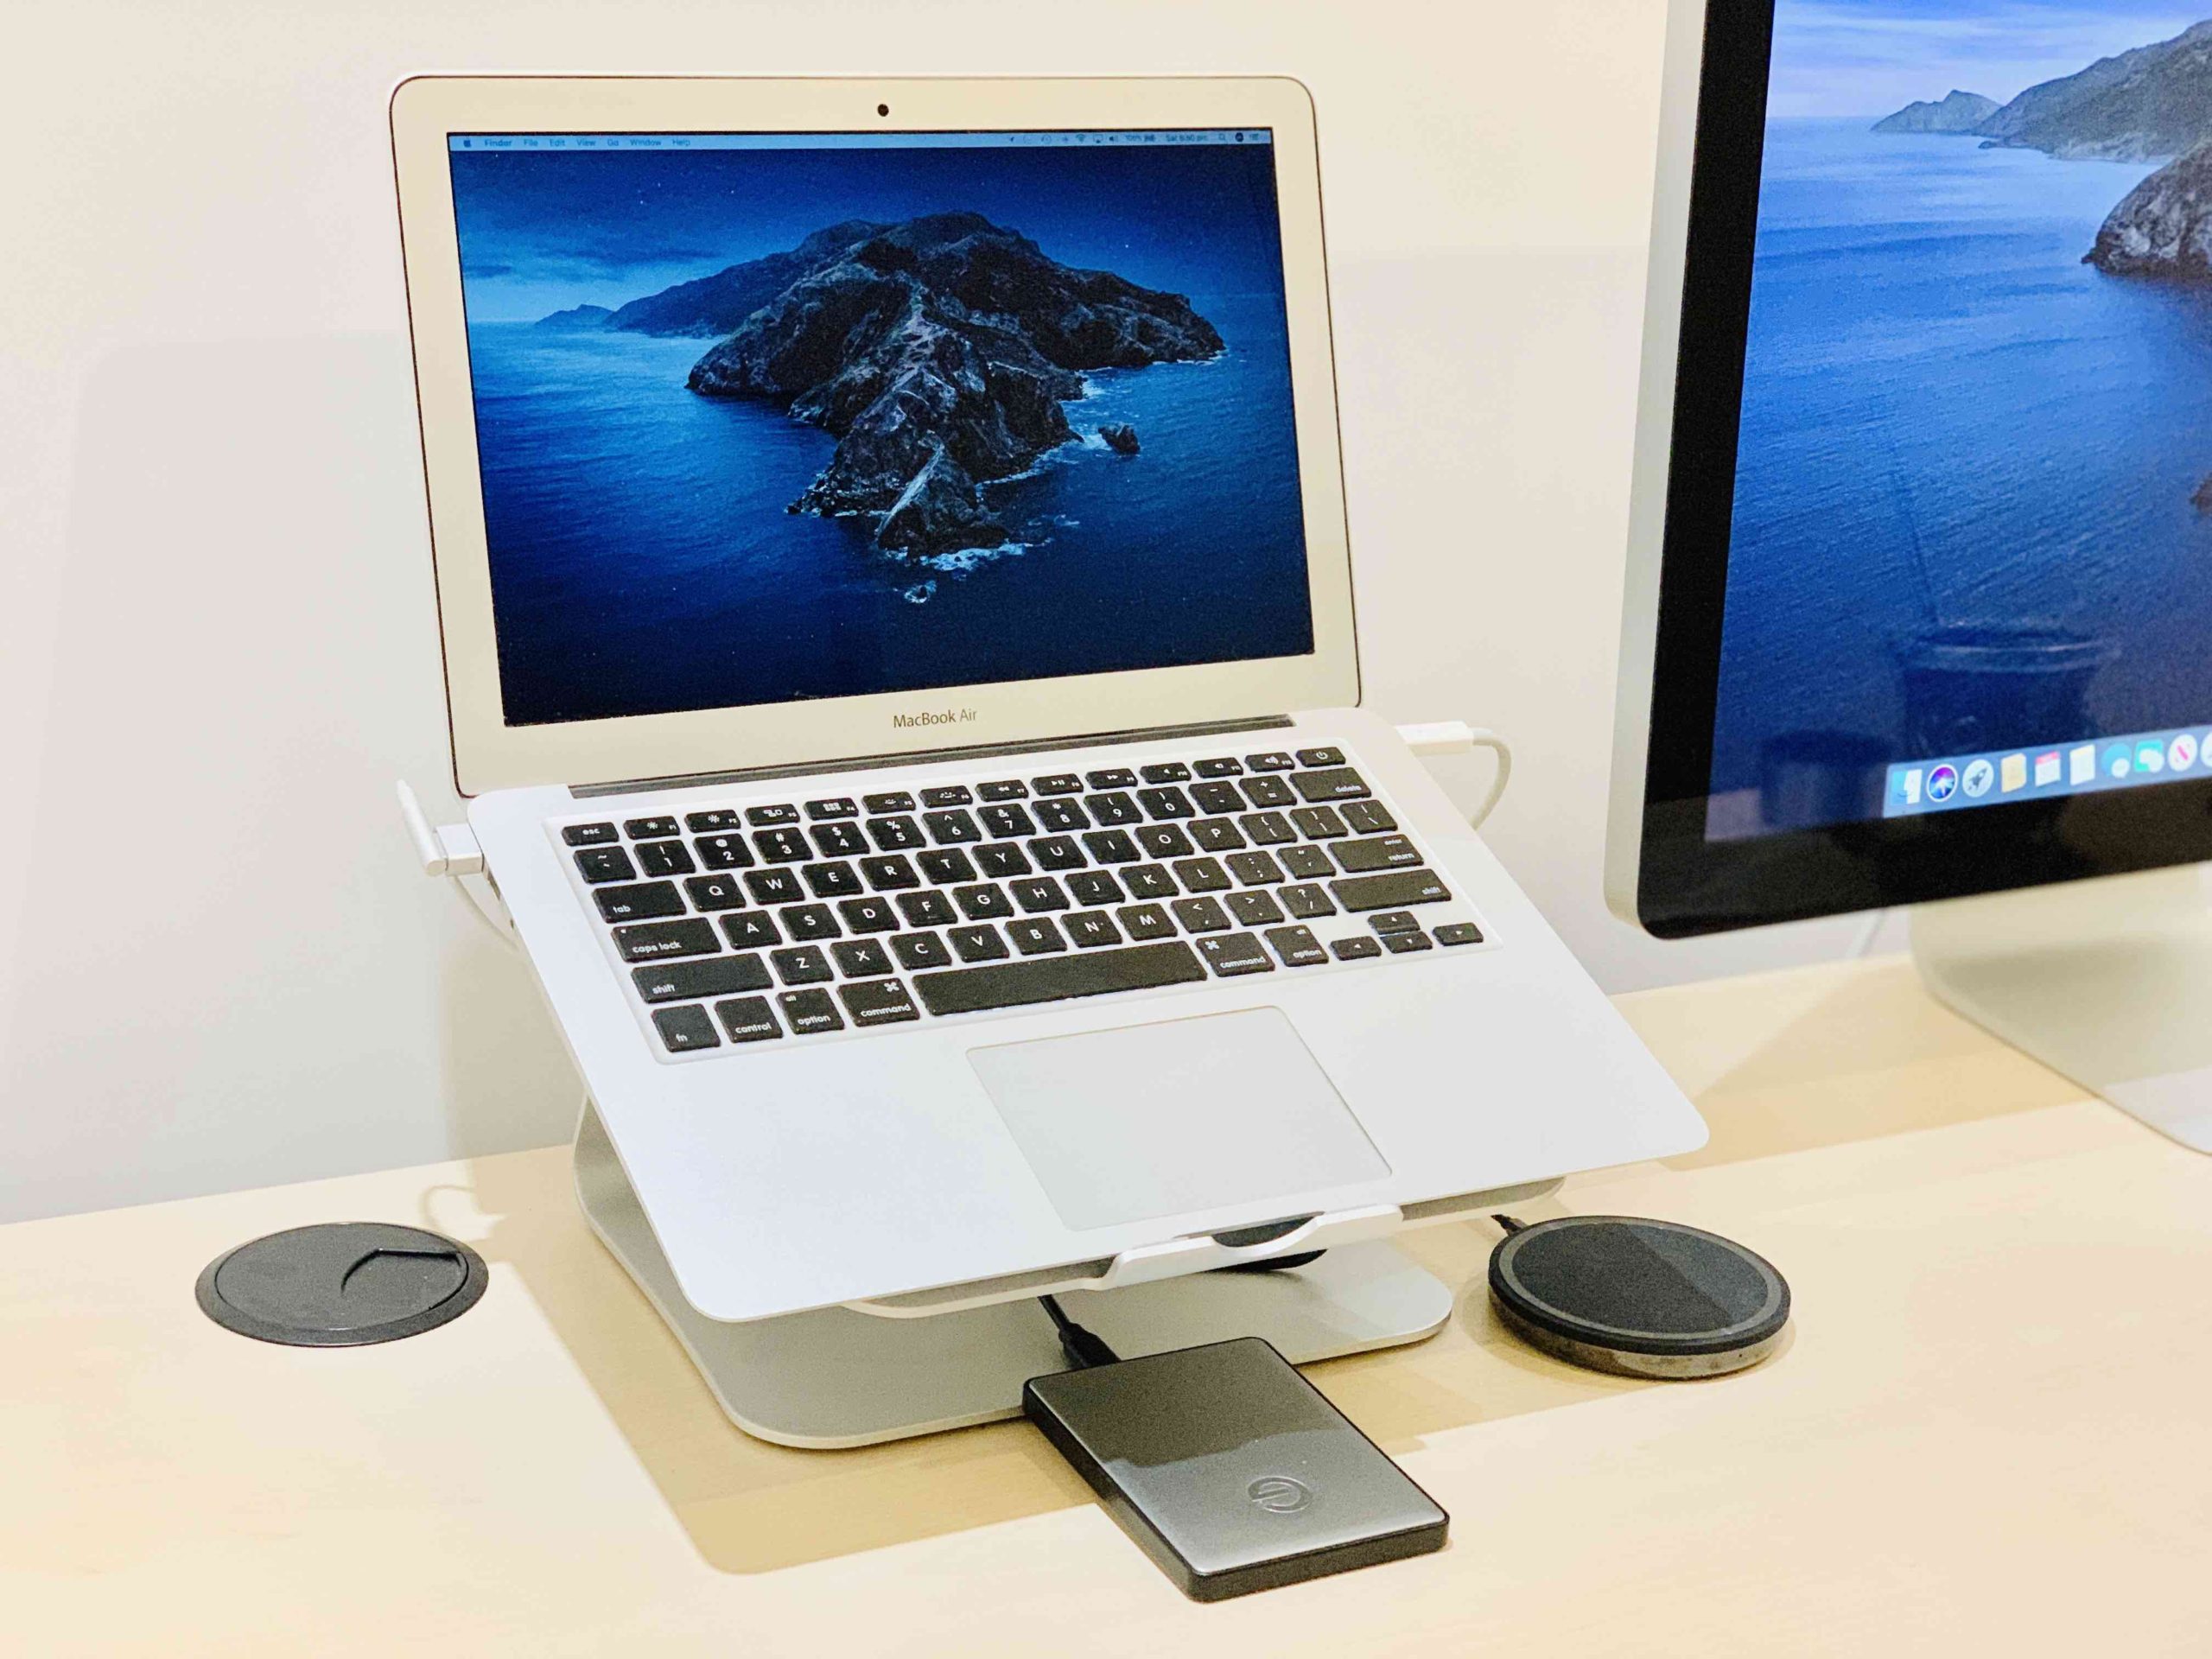
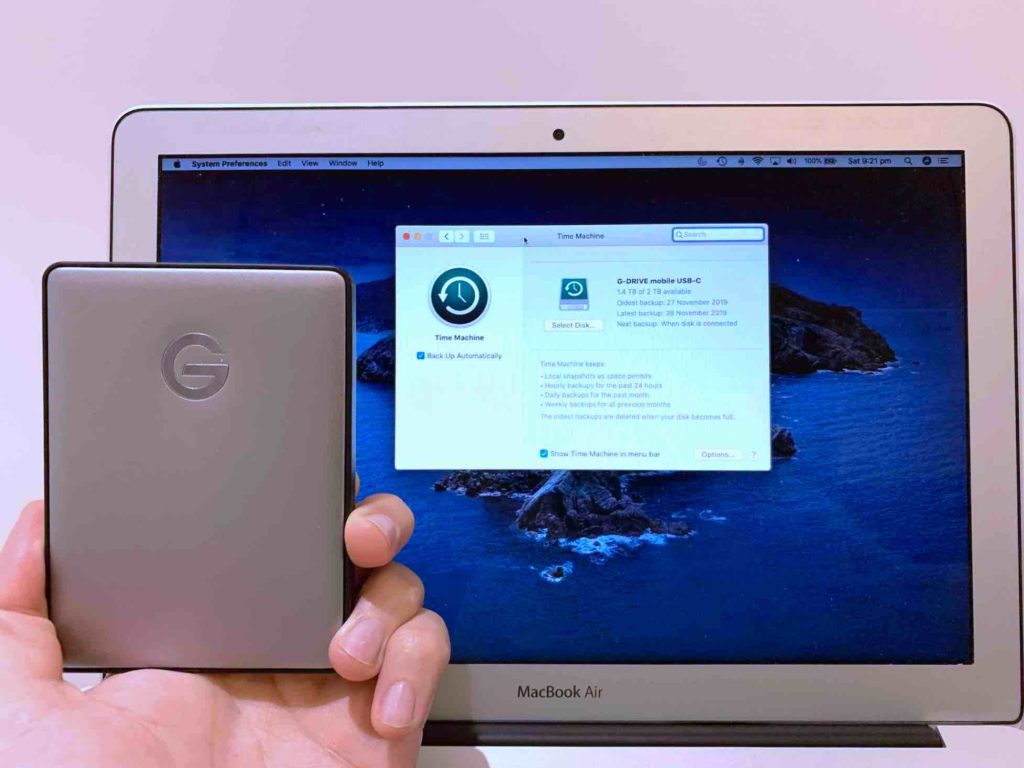
3) Back up your MacBook using Time Machine (native backup app coming with MacOS) and an External Hard Drive (I personally love G-Technology as it fits nicely with Apple). Apple has a great link to explain how to back up with Time Machine. In my case I backed up almost 500 GB and took me almost a day. Let’s say 6-8 hours the backup (first time that’s why) and then 16 hours approximately the encryption (best way to keep it secure). Once this done, next time you do a backup with TimeMachine/External HD it will be much faster!
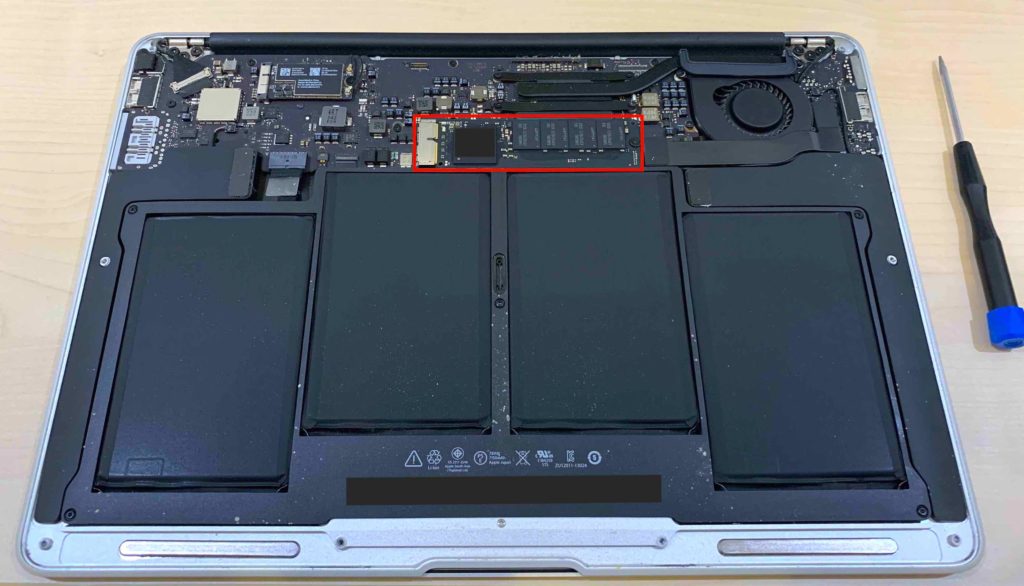
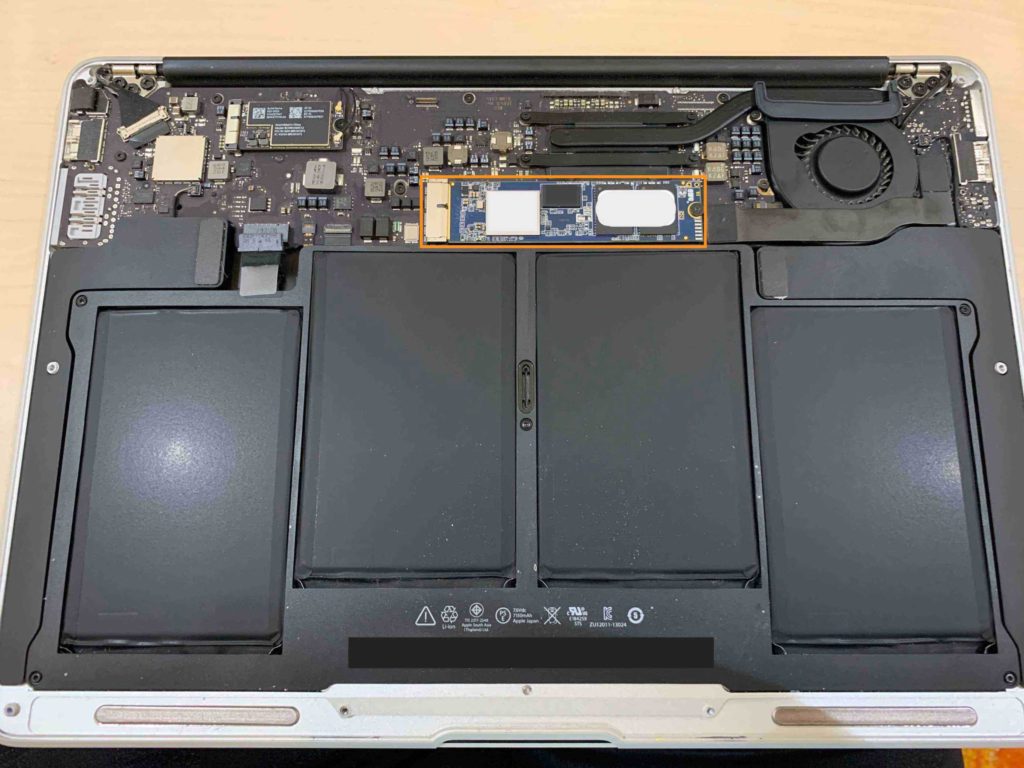
4) Open your MacBook and get your hands dirty. This is the fun part. If you buy your new SSD with the tools, then use those ones to open your MacBook, disconnect the battery, remove the existing SSD and replace it with your new one. This shouldn’t take more than 30 minutes. Once this done, you close your MacBook and you’re one step closer.
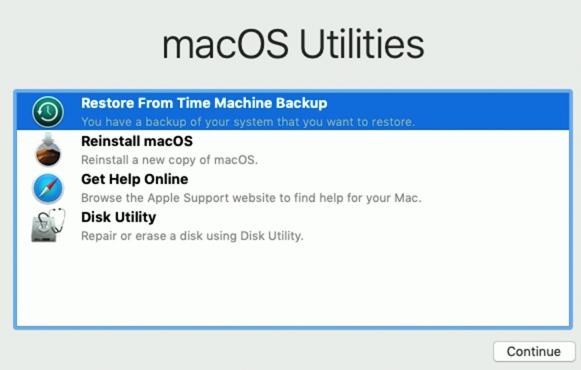
5) Format your new SSD and Restore with your MacOS and files with Time Machine. When starting your MacBook, you need to press Command (⌘)-R and then a windows will appear with 4 options. Select Disk Utility and Erase (aka Format) your disk so when Restoring you’ll be able to copy your content to your new SSD. Apple has a great link to explain how to restore with Time Machine. In my case, the format took less than a minute but restoring around 5 hours as it was a copy of 500 GB (macOS Catalina + files) to my new SSD!
This was meant to be a short version. No need to be an expert to do it yourself, just read/watch a little bit, be only afraid not to try and hopefully you found this useful to get the ball rolling!